ก่อนอื่นเราต้องไป Download ArduinoESP IDE มาติดตั่งก่อน Version จะเป็น 1.6.1 ก่อนการใช้งานเราจำเป็นต้องกำหนดค่าเบื่องต้นก่อน
กำหนด Board ใการใช้งานตามรูป


กำหนด Programmer ที่ใช้ในการ Upload

แค่นี้ดราก็พร้อมที่จะใช้งาน Arduino ESP IDE แล้ว เราสามารถทดลองจากตัวอย่าง Code ได้จาก Example

จากนี้เราก็สามารถเขียน Application ควบคุมการทำงานผ่านหน้าWeb ได้โดยงาย

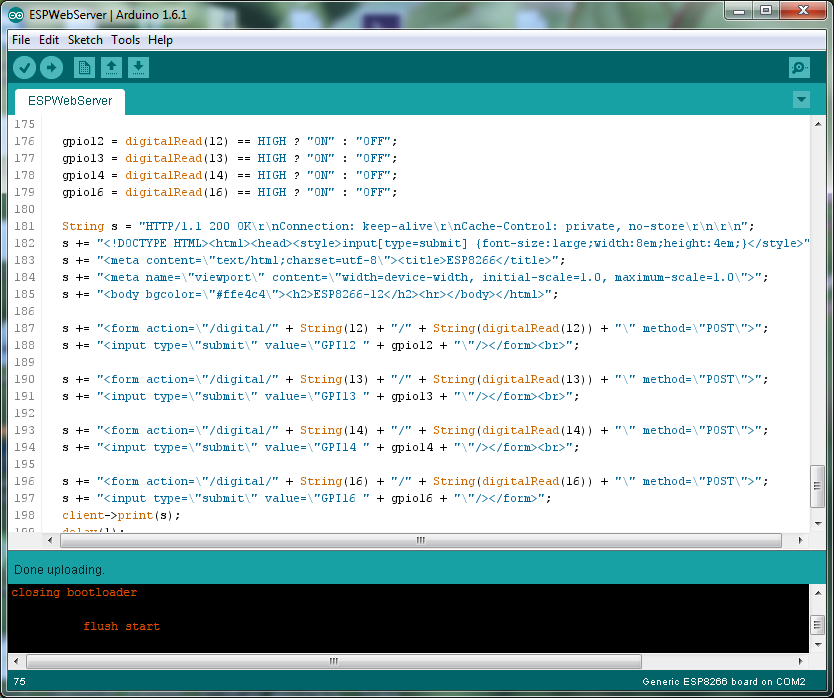
ตัวอย่าง Source Code
#include <ESP8266WiFi.h>
const char* ssid = "ssid";
const char* password = "password";
String gpio12 = "OFF";
String gpio13 = "OFF";
String gpio14 = "OFF";
String gpio16 = "OFF";
// Create an instance of the server
// specify the port to listen on as an argument
WiFiServer server(80);
void setup() {
// put your setup code here, to run once:
Serial.begin(115200);
delay(10);
// prepare GPIO2
pinMode(12, OUTPUT);
digitalWrite(12, 0);
pinMode(13, OUTPUT);
digitalWrite(13, 0);
pinMode(14, OUTPUT);
digitalWrite(14, 0);
pinMode(16, OUTPUT);
digitalWrite(16, 0);
// Connect to WiFi network
Serial.println();
Serial.println();
Serial.print("Connecting to ");
Serial.println(ssid);
WiFi.begin(ssid, password);
while (WiFi.status() != WL_CONNECTED) {
delay(500);
Serial.print(".");
}
Serial.println("");
Serial.println("WiFi connected");
// Start the server
server.begin();
Serial.println("Server started");
// Print the IP address
Serial.println(WiFi.localIP());
}
void loop() {
// put your main code here, to run repeatedly:
WiFiClient client = server.available();
if (!client) {
return;
}
// Wait until the client sends some data
Serial.println("new client");
while(!client.available()){
delay(1);
}
// Read the first line of the request
String req = client.readStringUntil('\r');
client.flush();
if (req.startsWith("GET /")){
send_index(&client);
}
if (req.startsWith("POST")){
process_io(req);
send_index(&client);
}
}
void process_io(String req){
Serial.print("HTTP Request: ");
Serial.println(req);
// POST /digital/12/0 HTTP/1.1
if (req.indexOf("POST /digital") != -1){
int firstVal, secondVal;
firstVal = req.substring(14, 16).toInt();
secondVal = req.substring(17, 18).toInt();
Serial.print("PIN: ");
Serial.println(firstVal, DEC);
Serial.print("STATE: ");
Serial.println(secondVal, DEC);
digitalWrite(firstVal, !secondVal);
}
}
void send_index(WiFiClient *client){
gpio12 = digitalRead(12) == HIGH ? "ON" : "OFF";
gpio13 = digitalRead(13) == HIGH ? "ON" : "OFF";
gpio14 = digitalRead(14) == HIGH ? "ON" : "OFF";
gpio16 = digitalRead(16) == HIGH ? "ON" : "OFF";
String s = "HTTP/1.1 200 OK\r\nConnection: keep-alive\r\nCache-Control: private, no-store\r\n\r\n";
s += "<!DOCTYPE HTML><html><head><style>input[type=submit] {font-size:large;width:8em;height:4em;}</style>";
s += "<meta content=\"text/html;charset=utf-8\"><title>ESP8266</title>";
s += "<meta name=\"viewport\" content=\"width=device-width, initial-scale=1.0, maximum-scale=1.0\">";
s += "<body bgcolor=\"#ffe4c4\"><h2>ESP8266-12</h2><hr></body></html>";
s += "<form action=\"/digital/" + String(12) + "/" + String(digitalRead(12)) + "\" method=\"POST\">";
s += "<input type=\"submit\" value=\"GPI12 " + gpio12 + "\"/></form><br>";
s += "<form action=\"/digital/" + String(13) + "/" + String(digitalRead(13)) + "\" method=\"POST\">";
s += "<input type=\"submit\" value=\"GPI13 " + gpio13 + "\"/></form><br>";
s += "<form action=\"/digital/" + String(14) + "/" + String(digitalRead(14)) + "\" method=\"POST\">";
s += "<input type=\"submit\" value=\"GPI14 " + gpio14 + "\"/></form><br>";
s += "<form action=\"/digital/" + String(16) + "/" + String(digitalRead(16)) + "\" method=\"POST\">";
s += "<input type=\"submit\" value=\"GPI16 " + gpio16 + "\"/></form>";
client->print(s);
delay(1);
Serial.println("Client disonnected");
}
ก่อน Upload ต้องเข้า Mode ฺBoot loader ก่อนน่ะครับโดยการทำให้ GPIO0 Active Low ตอน Module Startup หรือ Module Reset